
16 Gross-Looking Halloween Treats That Taste Way Better Than They Look

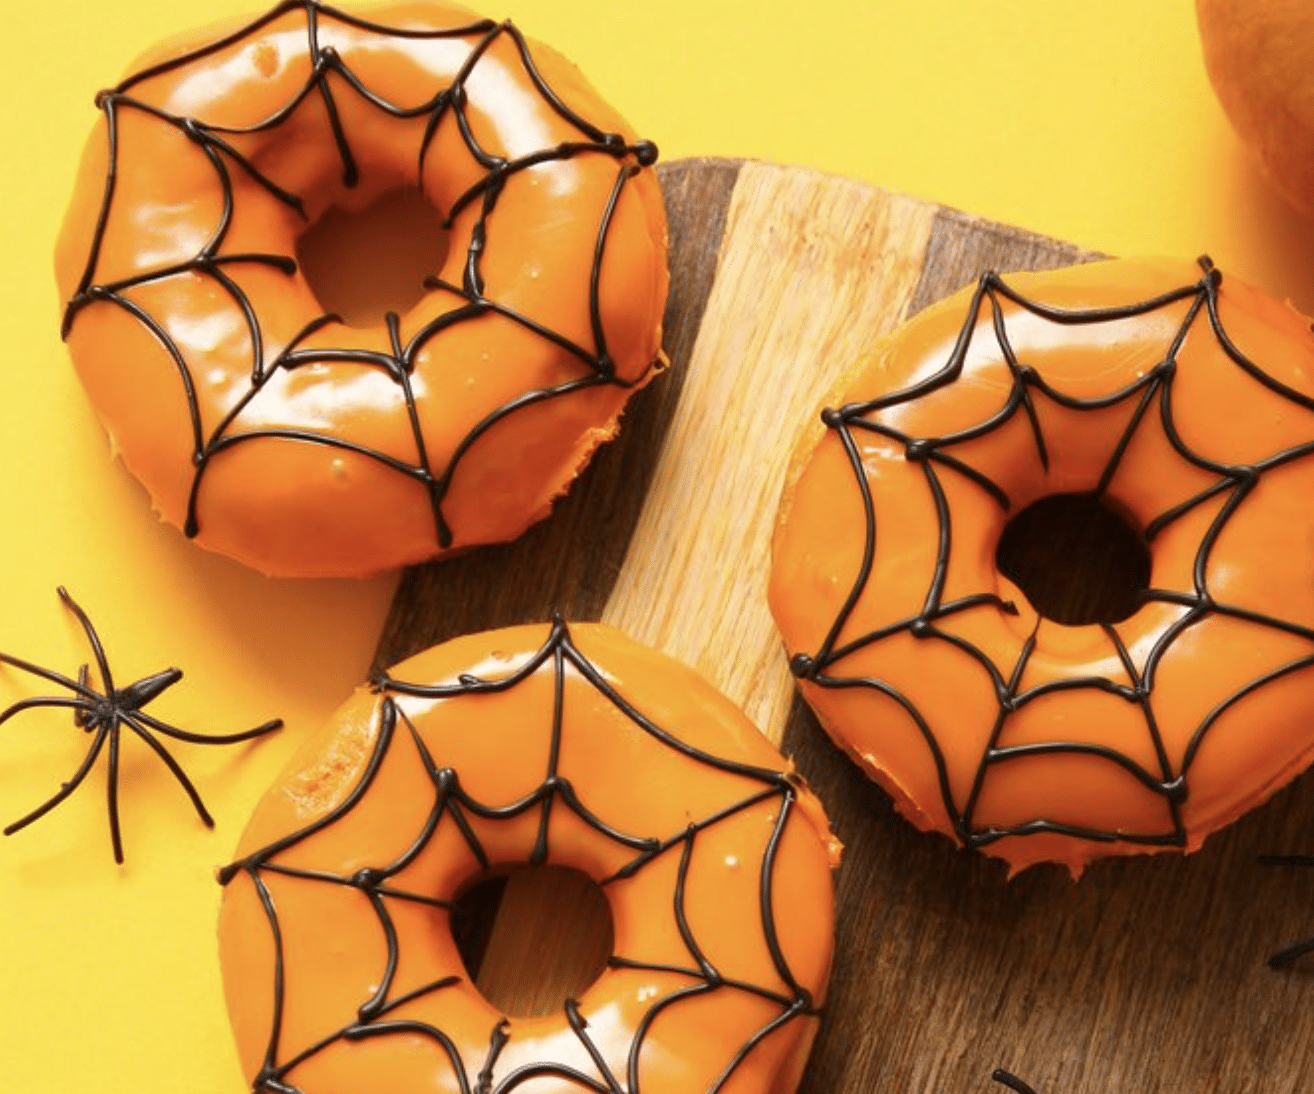
Every Halloween party has two kinds of food. There’s the cute stuff, like pumpkin cookies and ghost cupcakes, and then there’s the stuff that makes a grown adult say “absolutely not” and then eat four of them.
We’re here for the second kind. Everything on this list looks like it belongs in a haunted house and tastes like it belongs at a birthday party. If your crowd leans more cute than creepy, this list of easy Halloween treats anyone can make has you covered.
Each one gets a gross factor rating, because we’re professionals. They’re counted down to the one dessert that steals every Halloween table we bring it to, and the most horrifying thing on the list lands just short of the top spot.
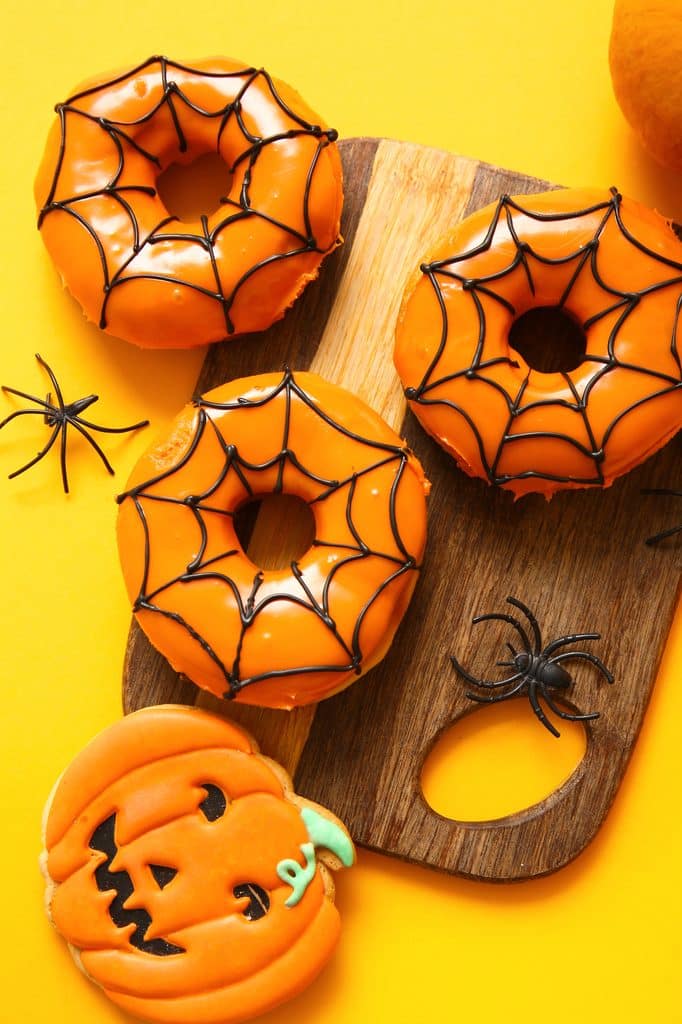
16. Donut Hole Spiders
Chocolate donut holes with pretzel legs and candy eyes. Set a plate of these next to the snack table and watch people hesitate for about half a second.
Gross factor: 4 out of 10. Mostly just creepy-crawly.
What you need (makes 12):
- 12 chocolate-glazed donut holes
- 24 thin pretzel sticks, broken in half (48 legs total)
- 24 small candy eyeballs
- A few spoonfuls of chocolate frosting
How to make it:
- Gently push four pretzel halves into each side of every donut hole, angled down so the spider stands up.
- Dab two tiny dots of frosting on the front.
- Press a candy eyeball onto each dot.
Buy the donut holes the same day if you can. Day-old ones firm up and the pretzel legs crack the glaze instead of sliding in.
15. Deviled Egg Eyeballs
Regular deviled eggs with an olive slice for an iris and red food coloring veins drawn across the white. They stare at you from the platter, which is the point.
Gross factor: 6 out of 10. The veins do a lot.
What you need (makes 12):
- 6 large eggs, hard-boiled and peeled
- 1/4 cup mayonnaise
- 1 teaspoon yellow mustard
- Salt and pepper to taste
- 12 sliced green olives with pimento, or black olive slices
- Red gel food coloring and a toothpick
How to make it:
- Halve the eggs lengthwise and scoop the yolks into a bowl.
- Mash the yolks with mayo, mustard, salt, and pepper until smooth.
- Spoon or pipe the filling back into the whites and smooth the tops.
- Press an olive slice into the center of each for the iris.
- Dip a toothpick in red gel coloring and draw thin, squiggly veins across the egg white, starting at the edge and fading toward the center.
Keep them in the fridge until serving. Eggs shouldn’t sit out at room temperature for more than about 2 hours.
14. Frankenstein Pudding Cups
Green pistachio pudding in clear cups with crushed chocolate cookie hair and candy eyes stuck to the inside of the cup. The monster builds himself.
Gross factor: 3 out of 10. He’s more goofy than scary.
What you need (makes 4):
- 1 box (3.4 oz) instant pistachio pudding
- 2 cups cold milk
- 6 chocolate sandwich cookies, crushed
- 8 candy eyeballs
- 4 clear plastic cups
How to make it:
- Whisk the pudding mix and milk for 2 minutes and let it sit 5 minutes to thicken.
- Press two candy eyeballs to the inside wall of each cup, using a small dab of pudding as glue.
- Spoon the pudding in behind the eyes.
- Top with crushed cookies for hair.
Pistachio pudding is already green, so there’s no food coloring involved. Boxed pudding lived in the pantry of every 90s house, and it still makes the easiest monster there is.
13. Mummy Brownies
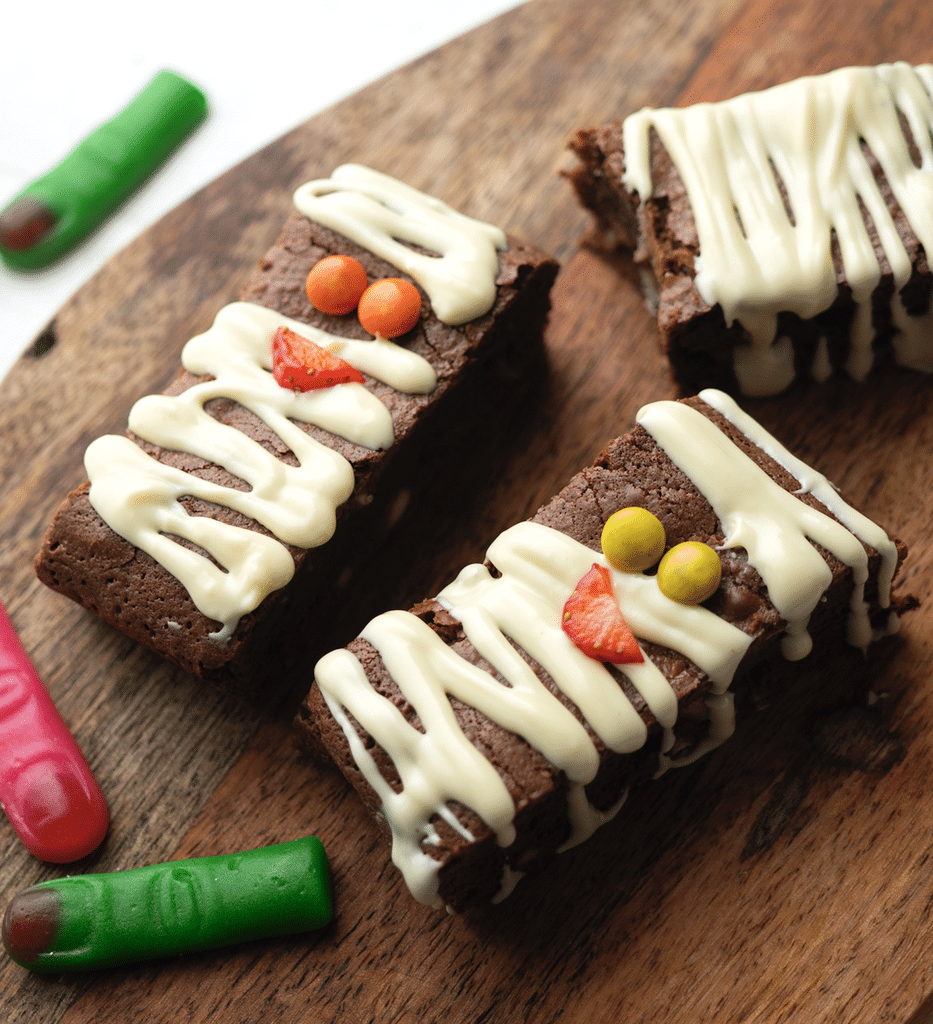
Brownie squares wrapped in sloppy stripes of white frosting with two candy eyes peeking out. The messier the stripes, the better they look.
Gross factor: 2 out of 10. Mummies are basically the golden retrievers of monsters.
What you need (makes 24):
- 1 family-size box brownie mix for a 9×13 pan, plus ingredients on the box
- 1 cup white frosting
- 48 candy eyeballs
How to make it:
- Bake the brownies following the box directions and cool completely.
- Cut into 24 squares.
- Spoon the frosting into a zip-top bag and snip a very small corner.
- Place two eyeballs on each square first, then pipe back-and-forth stripes across the brownie, leaving the eyes peeking through.
Snip the corner smaller than feels right. A wide opening makes thick lines that look like frosting instead of bandages. This is a great one to hand off to kids, along with these Halloween treats kids can make almost on their own.
12. Severed Finger Hot Dogs
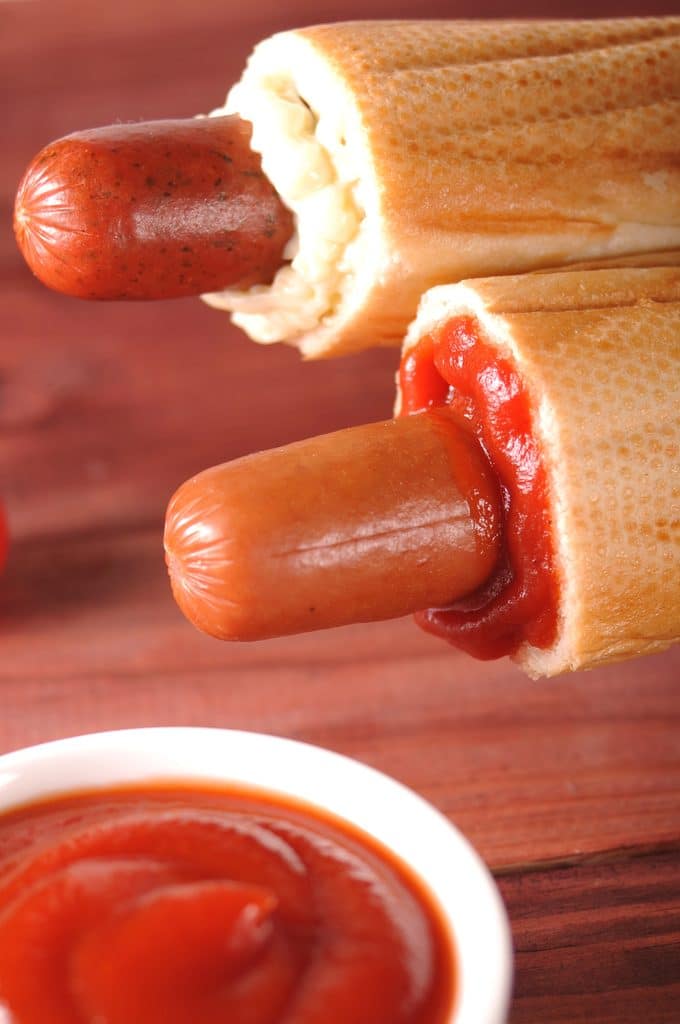
Hot dogs with knuckle creases cut in, a sliver of onion for a fingernail, and a pool of ketchup. This is the one where somebody at the party says “that’s too far,” and then asks for seconds.
Gross factor: 8 out of 10.
What you need (makes 8):
- 8 hot dogs
- 1 small white onion
- 8 hot dog buns (optional)
- Ketchup
How to make it:
- With a paring knife, cut three shallow slits across each hot dog in two spots to make knuckles.
- At one end, carve a small shallow rectangle for the fingernail bed.
- Boil or grill the hot dogs as usual. The cuts open up and look even more like knuckles.
- Cut small fingernail-shaped slivers from the onion and press one into each nail bed.
- Serve in buns or on a plate with a generous splash of ketchup at the cut end.
Carrie served these once for a pre-trick-or-treat dinner, and the kids refused to touch them until they learned they were just hot dogs. Then they refused to eat anything else. For a less disturbing version, a friend of ours makes mummy hot dogs every year, and they’re on her list of easy Halloween treats her kids ask for by name.
11. S’mores Dip With Eyeballs
A skillet of melted chocolate buried under toasted marshmallows, with candy eyeballs pressed into the top. It looks like a swamp creature surfacing, and it tastes like a campfire.
Gross factor: 5 out of 10. Something is definitely looking at you.
What you need (serves 6 to 8):
- 2 cups semisweet chocolate chips
- About 25 large marshmallows, halved
- 1/4 cup candy eyeballs
- Graham crackers for dipping
How to make it:
- Heat the oven to 450°F.
- Spread the chocolate chips in a 10-inch cast iron skillet or oven-safe dish.
- Cover the chocolate with marshmallow halves, cut side down, packed tightly.
- Bake 5 to 7 minutes until the marshmallows are puffed and golden on top. Watch closely, since golden turns to burnt fast.
- Press the eyeballs into the marshmallows right away and serve with graham crackers.
The skillet stays extremely hot. Set it on a trivet and warn the kids.
10. Apple Monster Mouths
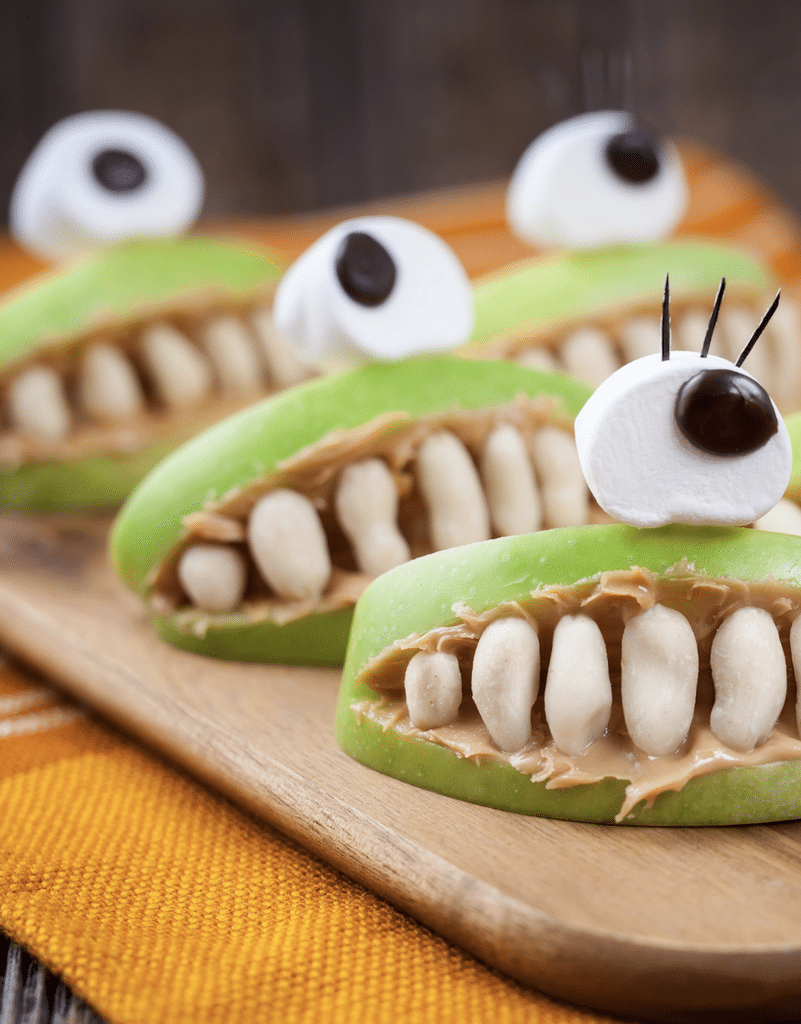
Two apple wedges glued together with peanut butter, mini marshmallow teeth in between, and one candy eye on top. They look deranged. They’re also basically health food.
Gross factor: 5 out of 10.
What you need (makes 8):
- 2 red apples, each cut into 8 wedges
- About 1/3 cup peanut butter or sunflower seed butter
- About 1/4 cup mini marshmallows
- 8 candy eyeballs
- Lemon juice
How to make it:
- Cut a shallow wedge out of the skin side of each apple slice if you want a wider mouth, then brush the cut sides with lemon juice.
- Spread peanut butter on one side of each slice.
- Line up mini marshmallows along the edge of half the slices for teeth.
- Top with a second slice, peanut butter side down, and press gently.
- Stick an eyeball on top with a dab of peanut butter.
Sunflower seed butter swaps in cleanly for nut-free parties. A thicker layer of spread keeps the teeth from falling out.
9. Popcorn Monster Hands
A clear food-safe glove with a candy corn fingernail in each fingertip, stuffed with popcorn and tied off at the wrist. You’ve just made a severed hand you can eat.
Gross factor: 7 out of 10, mostly because of the fingernails.
What you need (makes 6):
- 6 clear food-safe plastic gloves
- 30 pieces candy corn
- About 12 cups popped popcorn
- 6 twist ties or ribbon
How to make it:
- Drop one piece of candy corn into each fingertip, pointed end first, so it looks like a fingernail.
- Fill the glove with popcorn, packing it into the fingers first.
- Keep adding popcorn until the hand looks full, since it settles more than you’d think.
- Tie off at the wrist with a twist tie or ribbon.
These were a fixture at school parties, the same era that gave us the cafeteria trays that traumatized a generation. Supervise little ones, since small candy and popcorn can be choking hazards for young kids.
8. Witch Finger Cookies, the Honest Entry
Time for some honesty. Witch finger cookies are the most famous gross-out Halloween cookie, and they are also the most common Halloween baking fail we know of.
The problem is spread. The dough relaxes in the oven, and skinny witch fingers come out looking like swollen thumbs. If you enjoy baking, here’s how to beat it. If you just need something by Friday, pick literally anything else on this page.
Gross factor: 9 out of 10 when they work. 2 out of 10 when they turn into bratwursts.
What you need (makes about 5 dozen):
- 1 cup butter, softened
- 1 cup powdered sugar
- 1 large egg
- 1 teaspoon almond extract
- 1 teaspoon vanilla
- 2 2/3 cups all-purpose flour
- 1 teaspoon baking powder
- 1 teaspoon salt
- About 3/4 cup whole blanched almonds
- Red decorating gel
How to make it:
- Beat the butter, powdered sugar, egg, almond extract, and vanilla until smooth.
- Mix in the flour, baking powder, and salt. Cover and chill the dough at least 30 minutes.
- Heat the oven to 325°F and line baking sheets with parchment.
- Roll heaping teaspoons of dough into fingers, thinner than looks right, about the width of a pencil.
- Press an almond firmly into one end for the nail, then squeeze the dough slightly below and above the middle to make knuckles. Score a few lines with a knife.
- Freeze the shaped fingers on the sheet for 15 minutes.
- Bake 20 to 25 minutes until lightly golden. Cool, then lift the almonds, dab red gel underneath, and press them back down.
The freezer step is the whole secret. Cold dough holds its shape long enough to set before it spreads.
7. Vampire Bite Cupcakes
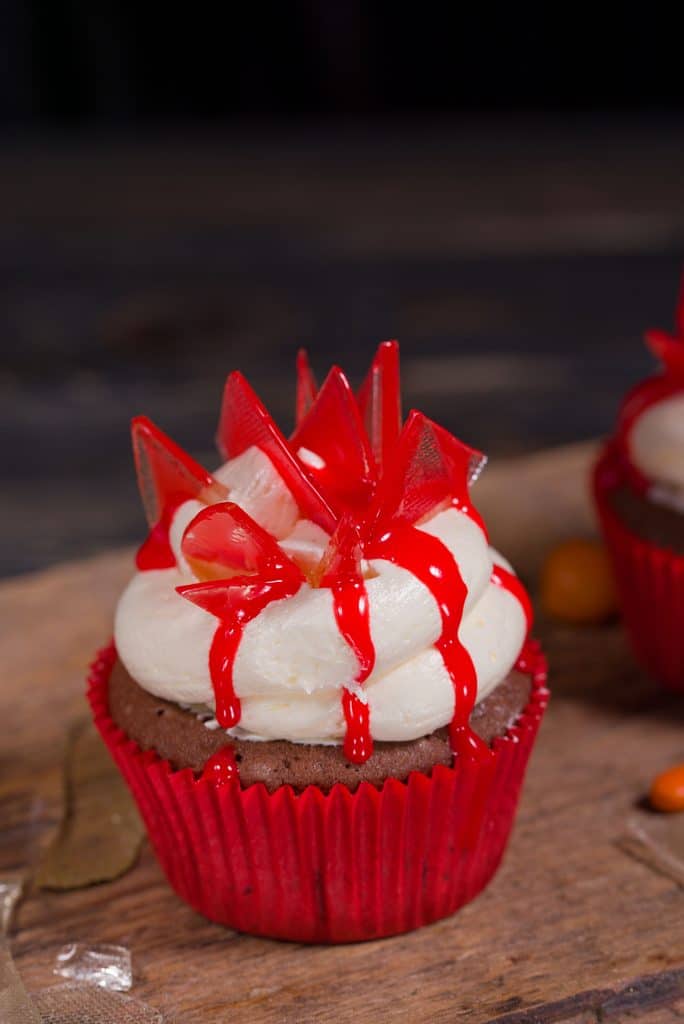
White-frosted cupcakes with two puncture holes and a drip of red jam running down the side. They look like the aftermath of something terrible.
Gross factor: 7 out of 10.
What you need (makes 12):
- 12 vanilla cupcakes, homemade or store-bought
- 1 1/2 cups white frosting
- 1/4 cup seedless strawberry or raspberry jam
- A drinking straw
How to make it:
- Frost the cupcakes with a smooth, flat layer of white frosting.
- Press the end of a straw into the frosting twice, close together, to make two bite marks. Pull straight up.
- Warm the jam for 10 seconds in the microwave so it loosens.
- Spoon a little jam into each hole and let a drip run down toward the edge.
Carrie thinks these are the most elegant thing on the list. Tom thinks they look like a crime scene, which in his opinion is a compliment. Pair them with a cape and plastic fangs and you’ve got one of the classic retro Halloween costumes from decades past.
6. Gummy Worm Dirt Cups
Chocolate pudding topped with crushed cookie dirt and gummy worms crawling out. A generation of kids considered this the finest dessert available.
Gross factor: 5 out of 10. Worms are worms.
What you need (makes 4 to 6):
- 1 box (3.9 oz) instant chocolate pudding
- 2 cups cold milk
- 15 chocolate sandwich cookies
- 12 to 18 gummy worms
- 6 clear cups
How to make it:
- Whisk the pudding and milk for 2 minutes and let it set for 5.
- Crush the cookies in a zip-top bag with a rolling pin until they look like dirt.
- Spoon pudding into the cups and top with a thick layer of cookie dirt.
- Push gummy worms into the dirt so some hang out over the edge.
Individual cups travel better than one big dish. Dirt cups were a staple of the same childhood that included everything we did after the streetlights came on.
5. Pretzel Bones
Pretzel sticks with a mini marshmallow on each end, dipped in white candy coating. They look exactly like little bones, which is either adorable or disturbing, depending on who you ask.
Gross factor: 6 out of 10.
What you need (makes about 30):
- 30 thin pretzel sticks
- 60 mini marshmallows
- 12 oz white candy melting wafers
How to make it:
- Push a mini marshmallow onto each end of every pretzel stick.
- Melt the wafers in 30-second bursts, stirring between each, until smooth.
- Dip each bone to coat, tapping off the extra with a fork.
- Lay on wax paper and let set about 20 minutes.
Marshmallow ends on a pretzel stick belong on the list of hacks that sound fake but actually work. Pile them in a bowl with a plastic skull for maximum effect. They also make a great topping for the graveyard cake at number one.
4. Meatball Eyeballs
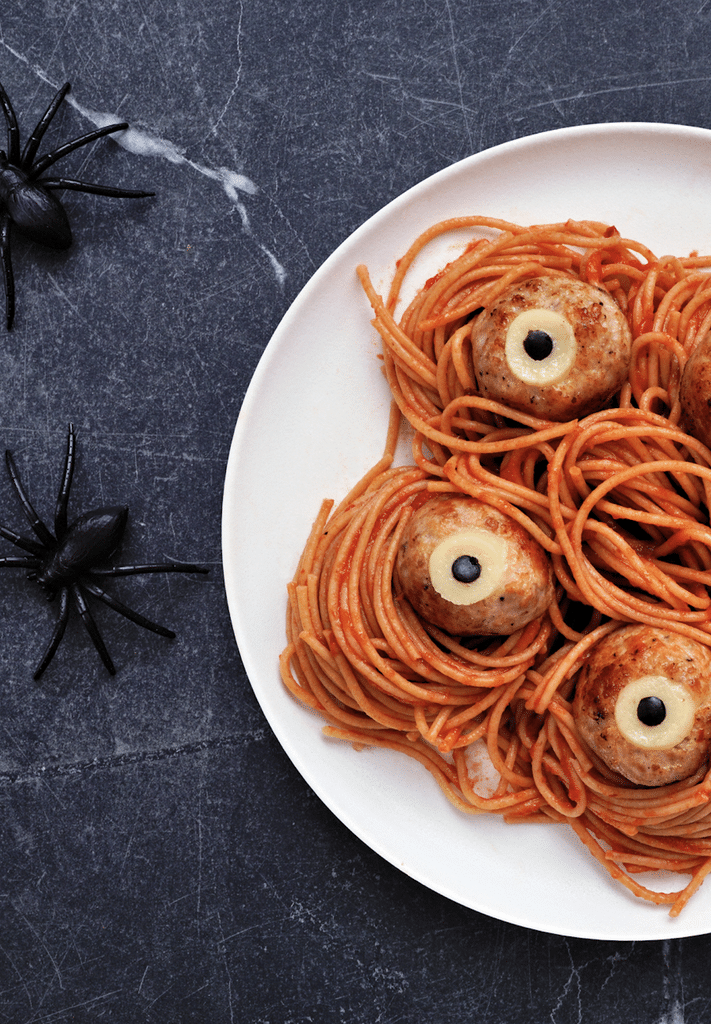
Meatballs simmered in marinara, each topped with a slice of melted mozzarella and an olive pupil. A tray of these stares back at everyone who walks past.
Gross factor: 7 out of 10. A whole tray is a lot of eye contact.
What you need (makes about 24):
- 24 frozen fully cooked meatballs
- 1 jar (24 oz) marinara sauce
- 8 oz fresh mozzarella, sliced into small rounds
- 1 small can sliced black olives
How to make it:
- Simmer the meatballs in the marinara in a large skillet for 15 to 20 minutes until heated through.
- Move them to an oven-safe dish with some of the sauce.
- Top each meatball with a round of mozzarella.
- Broil 1 to 2 minutes until the cheese just starts to melt.
- Press an olive slice into the center of each.
Serve with toothpicks. They also work over pasta if you want to turn the whole thing into a Halloween dinner. If you’re feeding a crowd on a budget, this breakdown of cheap Halloween treats by cost per batch helps you plan the rest of the table.
3. Spiderweb Taco Dip
A layered taco dip with a sour cream spiderweb piped across the top and a black olive spider in the middle. It’s the only savory dip we know that looks this sinister.
Gross factor: 4 out of 10 until someone notices the spider.
What you need (serves 10 to 12):
- 1 can (16 oz) refried beans
- 1 packet taco seasoning
- 1 cup guacamole
- 1 cup salsa, drained of extra liquid
- 1 cup shredded cheddar
- 1/2 cup sour cream
- 2 whole black olives
- Tortilla chips
How to make it:
Reader Favorites
28 Movie Theater Candies Ranked From Forgettable to Addictive →
- Stir the taco seasoning into the refried beans and spread in a round dish or pie plate.
- Layer the guacamole, then the salsa, then the cheese.
- Spoon the sour cream into a zip-top bag, snip a small corner, and pipe four or five circles, one inside another.
- Drag a toothpick from the center outward eight times to form the web.
- Cut one olive in half for the spider’s body and slice the other into thin strips for legs.
The web step works the same way on chocolate, which is why this trick shows up on dessert tables too. Taco dip at a party is one of those family traditions that quietly disappeared and deserves a comeback.
2. Kitty Litter Cake
This is the one people talk about for years. A cake crumbled into a brand-new litter box, mixed with pudding, topped with green-tinted cookie crumbs, and finished with softened chewy chocolate candies shaped into, well, you know.
Gross factor: 10 out of 10. There’s no competition.
What you need (serves 20 or more):
- 1 box spice or white cake mix, plus ingredients on the box
- 1 box (3.4 oz) instant vanilla pudding, prepared with 2 cups milk
- 1 package (about 14 oz) vanilla sandwich cookies, crushed
- A few drops green food coloring
- 12 small chewy chocolate taffy candies
- A new, clean plastic litter box and a new litter scoop
How to make it:
- Bake the cake as directed and let it cool completely.
- Crumble the cake into a large bowl and stir in the prepared pudding. Save a little of the crushed cookies and mix green coloring into that portion.
- Stir most of the plain cookie crumbs into the cake mixture and spread it into the litter box.
- Scatter the green-tinted crumbs over the top so it looks like fresh litter.
- Microwave the chewy candies for about 10 seconds to soften, then shape and bend them into logs. Bury a few partway and drape one over the scoop.
Serve it with the scoop. Nobody forgets that moment.
We skipped it at a dinner with the in-laws, and that was the right call. Save it for crowds who can laugh, because some guests genuinely can’t get past it no matter how good it tastes.
1. Graveyard Dirt Cake
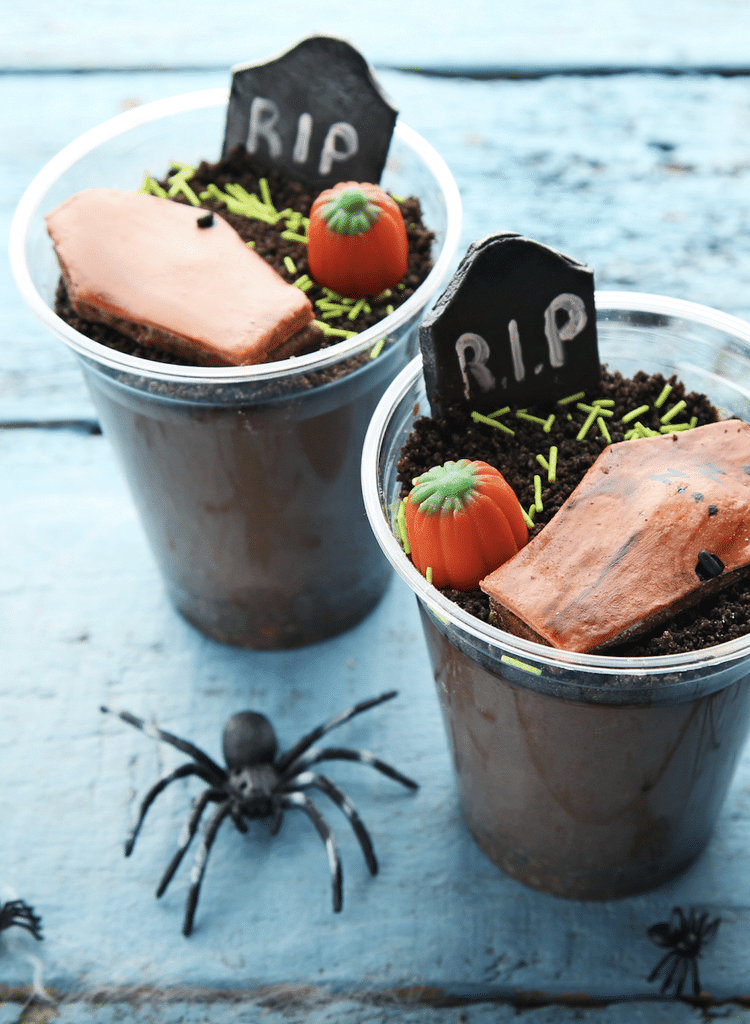
The top spot goes to the dessert that makes every Halloween table. It’s the dirt cup’s final form: a big dish of chocolate pudding and cream cheese filling under a thick layer of cookie dirt, with cookie tombstones, gummy worms, and pretzel bones rising out of the ground.
Gross factor: 6 out of 10, but a 10 out of 10 on crowd reaction.
What you need (serves 15 to 20):
- 1 package (about 14 oz) chocolate sandwich cookies
- 8 oz cream cheese, softened
- 1/4 cup butter, softened
- 1 cup powdered sugar
- 2 boxes (3.9 oz each) instant chocolate pudding
- 3 1/2 cups cold milk
- 1 tub (8 oz) frozen whipped topping, thawed
- 8 oval peanut butter sandwich cookies for tombstones
- Black or white icing pens
- Gummy worms, and pretzel bones from number five (optional)
How to make it:
- Crush the chocolate cookies into fine crumbs in a zip-top bag or food processor.
- Beat the cream cheese, butter, and powdered sugar until smooth.
- In a separate bowl, whisk the pudding mix and milk for 2 minutes, then fold in the whipped topping.
- Fold the cream cheese mixture into the pudding mixture.
- Spread one-third of the crumbs in a 9×13 dish, add half the pudding mixture, then another third of crumbs, the rest of the pudding, and top with the remaining crumbs.
- Chill at least 4 hours or overnight.
- Write epitaphs on the oval cookies, let the icing set a minute, then push them upright into the dirt. Add gummy worms crawling out and scatter bones.
The tombstones are where this dessert becomes legend. Our favorite epitaphs from over the years include “Ate the Last Cookie,” “Said ‘One More Episode’,” “Replied All,” “Left the Cart in the Lot,” and “Wore White to a Wedding.” Personalized ones for family members always get the biggest laugh.
Let the icing pens dry before handling the cookies, since wet writing smears the moment a thumb touches it. And make it the night before, so the cookie layers soften into something closer to cake.
It feeds a crowd, it travels, and it makes people pull out their phones before they pull out a spoon. That’s why it takes the crown. Graveyards and tombstones have been part of the holiday for a long time, and the stories behind our favorite Halloween traditions are fun to share while everyone digs in.
Before the Guests Show Up
If you only make three things from this list, go with the severed finger hot dogs for dinner, the meatball eyeballs for the snack table, and the graveyard dirt cake as the centerpiece. That covers savory, snacky, and sweet, and every one of them gets a reaction.
Most of the ingredients here overlap, so one grocery run covers half the list. For more ways to keep the whole night cheap, these frugal Halloween ideas for the whole family are worth a look. And if you’re watching a scary movie afterward, our rundown of popcorn habits that reveal how you watch a movie and the theater snack combos that sound wrong but work should keep the snack bowl interesting well past the party. Heading out to a Halloween screening instead? Here are the snacks people try to sneak into the movies.